Showing posts with label Photoshop. Show all posts

18 January 2012

Create Your Own Lightning with Photoshop

This tutorial will give you the basics to learning how to create lightning using photoshop.
We start with a blank page of your preferred aspect ratios (You can use a rectangle or square shape, I am using the Web preset 1600X1200 with transparent background.)

Once you have the new file, make sure your preset foreground and background colors are black and white. Choose the gradient tool (linear or reflected work, but for this tutorial, we will use linear.) Now make a horizontal line in the middle of the page to get this gradient:
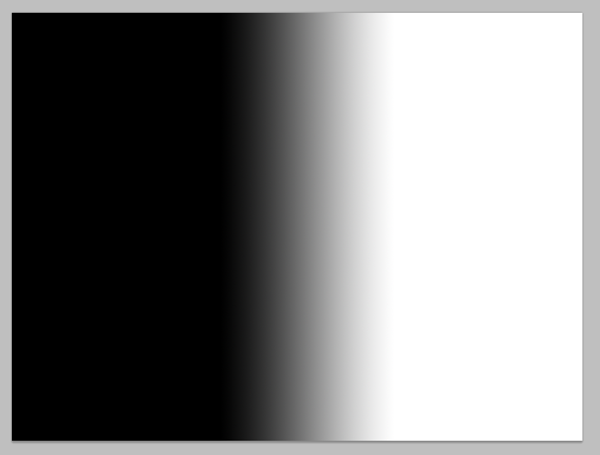


Now use this effect only once: Filter > Render > Difference Clouds
Then Command (or Ctrl) + I to invert
This is what we have so far:


To make it darker, bring up the Levels box by clicking on Command (or Ctrl) + L
I used these presets to make the most realistic lighting, but what you need to do is bring the middle gray cursor to the right so that you can darken the mid-tones, and also darken the shadows (the black cursor on the left) a little bit.


We are almost done, all we need to do is to bring this thunder to life through a hint of color. To do so, go to Image > Adjustment > Selective Color. Choose the Neutrals colors, here, it is completely up to you to choose the color of thunder that is most pleasing to your purpose, and these are the setting I used to colorize my lightning:


Click OK, and you have lightning.


I hope you enjoyed this tutorial, and hope to see you rock the earth with your own lightning and thunder.

Trippy Twisted Swirly Thingy

This tutorial will teach you how to create an abstract background of twisted swirly lines using Adobe PhotoShop, something that looks like this:


Let us start with a new file of your preferred aspect ratio (try to have a square, but a rectangle is fine just do not make it stretch too much because that won’t give the intended results.) I used the preset web with 1600X1200 for this one.

Set the foreground and background colors of your choice (I used black and white for additional effects.)

Then, Filter > Render > Clouds.


Then, Filter > Pixelate > Mezzotint.
Choose Medium Strokes for best results, press OK, and this is what you get.


Now choose Filter > Blur > Radial Blur.
Choose the following settings:

Amount: 100, Blur method: Zoom, Quality: Best


Press OK, then click Command (or Ctrl) + F to apply the filter again. This is how the image should look like:


Command (or Ctrl) + J twice to copy the layer twice.
Choose the third layer and apply this filter:
Filter > Distort > Twirl
Set the Angle to a positive angle, somewhere between the range of 80 to 360. I chose 360 but it is up to your artistic rendition, then press OK. This is what you have for the third layer:


Click the eye on the third layer to hide it, choose the second layer and apply the same filter, this time with a negative number, preferably the same number as the third layer, then press OK.

Now show the third layer and select it. Change the blending mode to Lighten, and do the same thing for the second layer, this is what you should end up with:


Since you chose the colors of your liking in the beginning, you are almost done, all you have to do is to right click on one of the layers and choose Flatten Image then save the file and you are done.

However, I chose black and white colors for a small addition to the process. If you did so, do NOT flatten the image, we are not done yet. This is just an extra.

Select the third layer, then go to Image > Adjustments > Selective Color.
The Method I chose is Relative, and personally I prefer that.
We are going to change the following Colors: Whites, Neutrals, and Blacks.
Choose each one of the colors and adjust to your taste and liking, and you can always keep the colors as they are. This section is all up to you, boss, so be creative. Click OK after you have adjusted the colors to your liking.
This is what I have so far by changing only the Whites and the Neutrals of the third layer:


Apply the same to the second and first layer and adjust each of the colors to your preference. When you have the results you like, right click on any of the layer and Flatten Image. You can now save the image. This my final result:


(Optional addition) After you have flattened the image, Command (or Ctrl) + J to create a new layer, and change that layer’s blending option to, again, your preference, to create the effect you seek, flatten the image and save the final progress. I chose the blending option Color Burn to end up with this:


Hope you enjoyed this tutorial. Don’t forget to leave your comments.